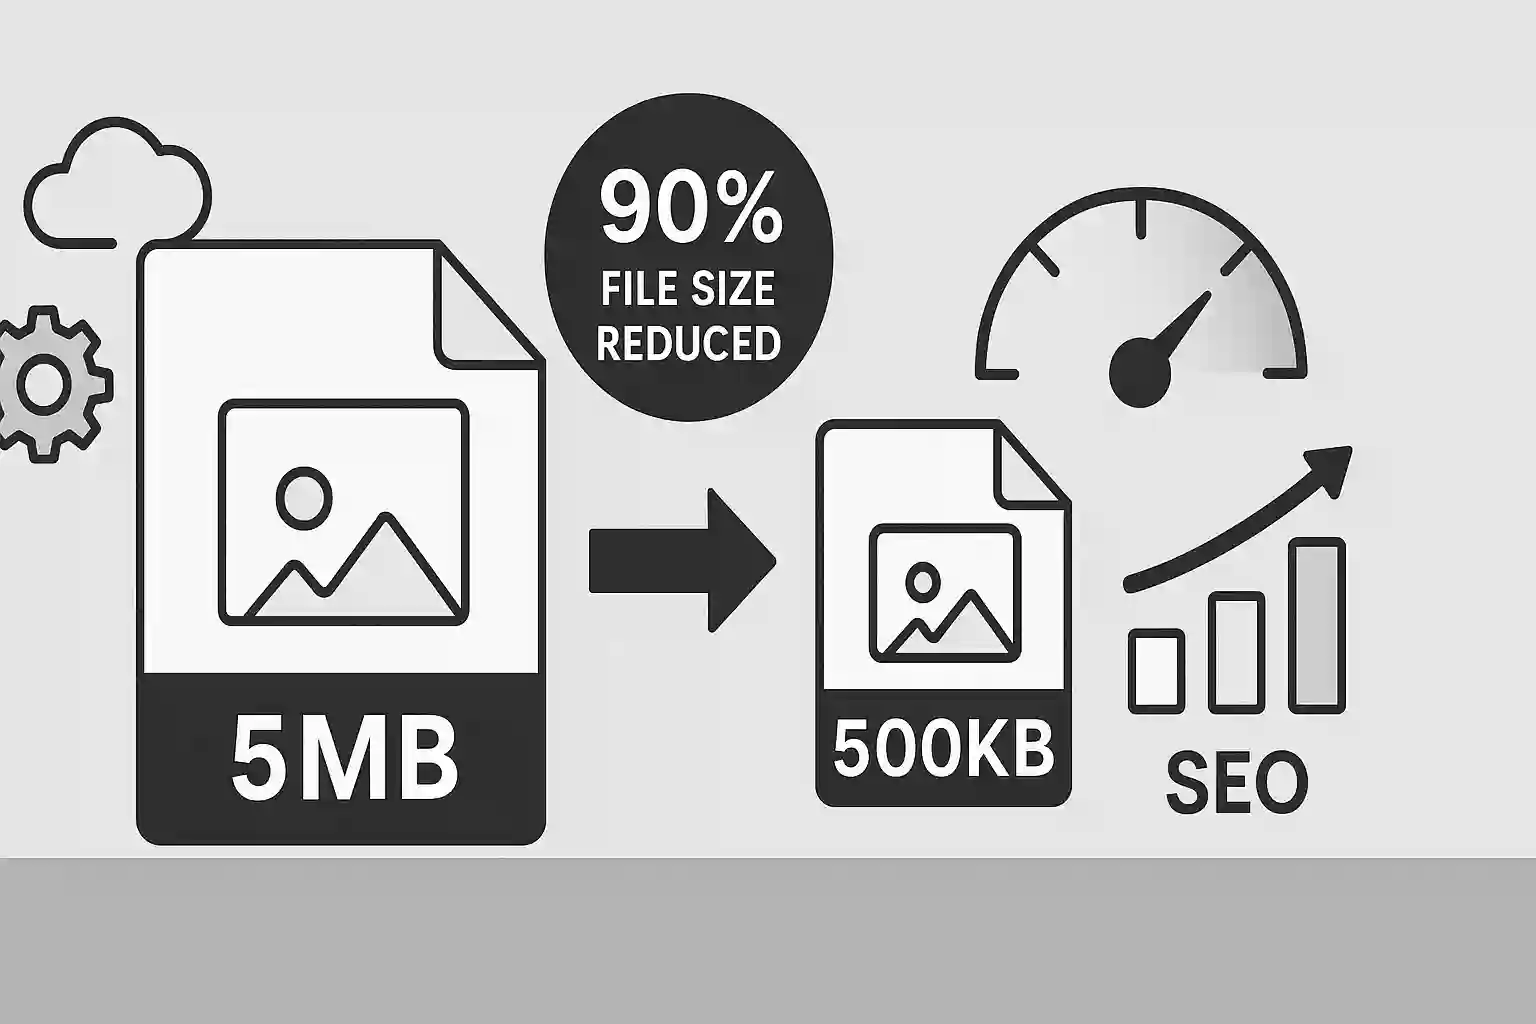
Are your images slowing down your website? Large photo file sizes can dramatically impact loading times, user experience, and SEO rankings. In this comprehensive guide, you'll learn how to compress images and reduce photo file size by up to 90% without sacrificing visual quality. Whether you're a web developer, blogger, or business owner, mastering image compression is essential for optimal web performance.
Table of Contents
What is Image Compression?
Image compression is the process of reducing the file size of digital images while maintaining acceptable visual quality. When you compress images, you're essentially removing unnecessary data from the image file, making it smaller and faster to load.
Modern photo compressors use sophisticated algorithms to analyze image data and remove redundant information that the human eye can't detect. This allows you to reduce image file size significantly without noticeable quality loss.
Did You Know?
A single uncompressed photo from a modern smartphone can be 5-15MB. With proper compression, you can reduce this to 200-500KB while maintaining excellent visual quality!
Why You Need to Compress Images
Understanding why image compression is crucial will help you appreciate its impact on your website's performance:
1. Faster Website Loading Times
- Improved user experience: Compressed images load faster, reducing bounce rates
- Better mobile performance: Essential for users on slower mobile connections
- Reduced bandwidth usage: Lower hosting costs and faster content delivery
2. SEO Benefits
- Core Web Vitals: Google considers page speed as a ranking factor
- Better crawling: Search engines can index your content faster
- Mobile-first indexing: Compressed images improve mobile page performance
3. Storage and Bandwidth Savings
- Reduced hosting costs: Smaller files require less server storage
- Faster backups: Compressed images speed up backup processes
- CDN efficiency: Content delivery networks work more effectively
Types of Image Compression
There are two main types of image compression, each with specific use cases:
| Compression Type | Quality Impact | File Size Reduction | Best For | Formats |
|---|---|---|---|---|
| Lossless | No quality loss | 10-30% | Graphics, logos, screenshots | PNG, WebP (lossless) |
| Lossy | Minimal visible loss | 60-90% | Photographs, complex images | JPEG, WebP (lossy) |
When to Use Lossless Compression
- Images with text or sharp edges
- Logos and graphics with transparency
- Screenshots and technical diagrams
- When perfect quality preservation is required
When to Use Lossy Compression
- Photographs and complex images
- Images with gradients and natural textures
- When file size is more important than perfect quality
- Web images where slight quality loss is acceptable
Best Compression Techniques
Here are the most effective techniques to compress images and reduce photo file size:
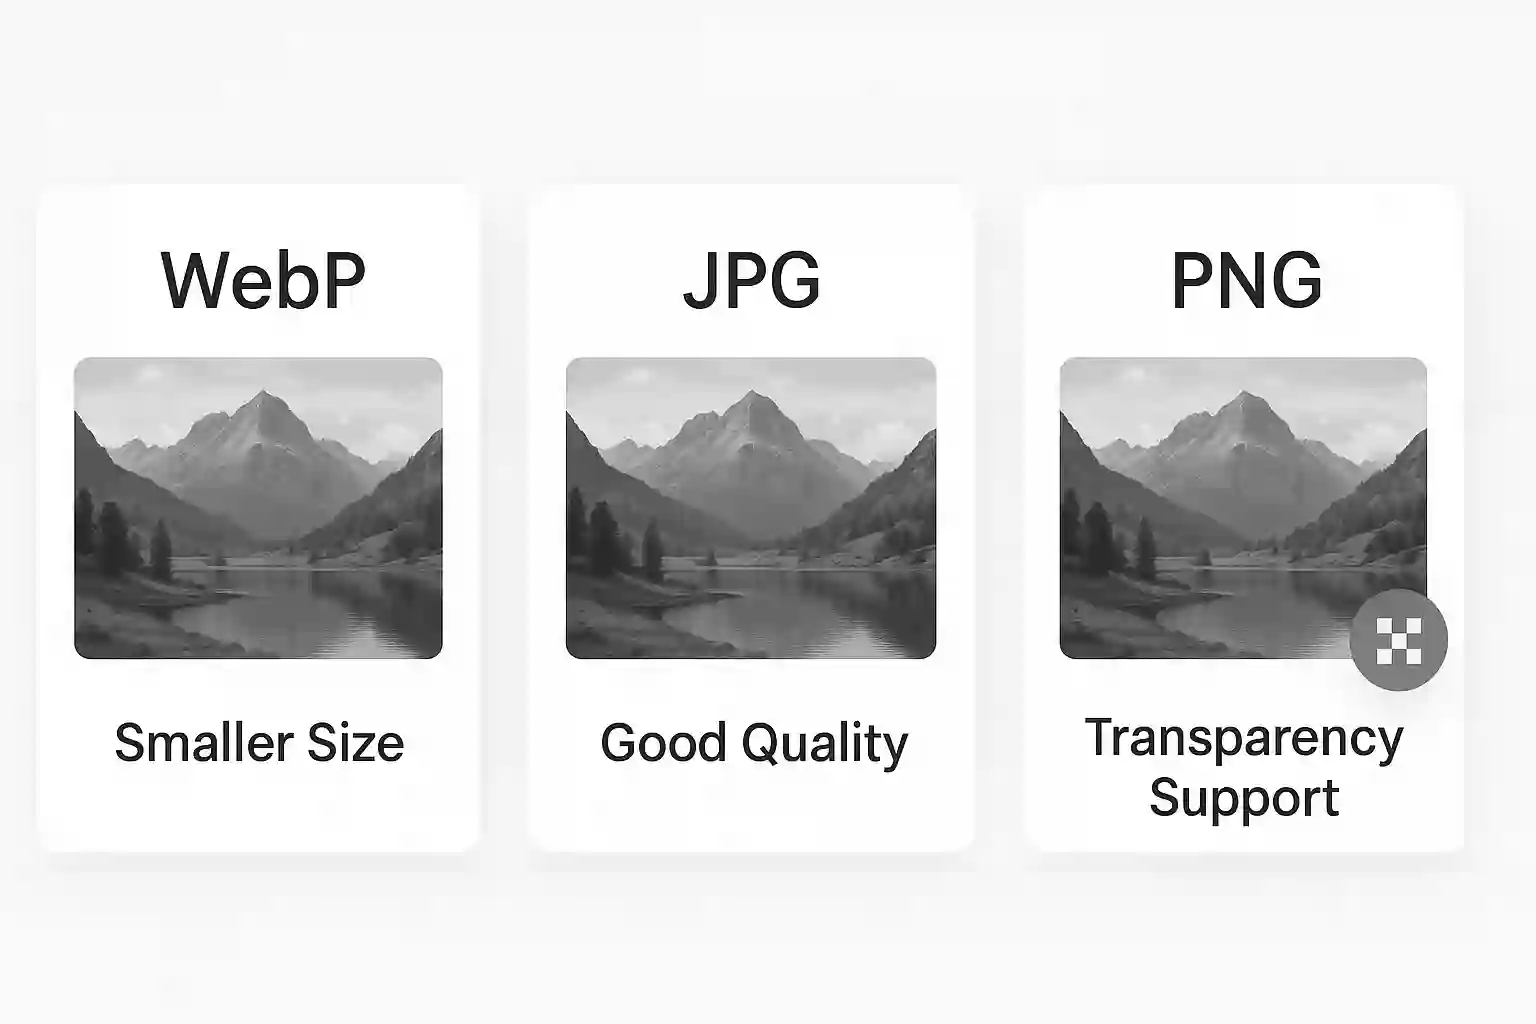
1. Choose the Right Format
JPEG/JPG
Best for: Photographs, complex images
Compression: Up to 90% size reduction
Use when: Quality vs. file size balance is needed
PNG
Best for: Graphics, logos, transparency
Compression: 10-30% size reduction
Use when: Perfect quality is required
WebP
Best for: Web images, all types
Compression: 25-35% better than JPEG/PNG
Use when: Modern browser support is available
2. Optimize Quality Settings
Finding the sweet spot between quality and file size is crucial:
- JPEG Quality 85-90%: Excellent quality with good compression
- JPEG Quality 70-80%: Good quality with significant size reduction
- JPEG Quality 60-70%: Acceptable quality for web thumbnails
3. Resize Before Compressing
Always resize your images to the required dimensions before compression:
- Web images: Rarely need to be larger than 1920px wide
- Blog images: 800-1200px wide is usually sufficient
- Thumbnails: 150-300px wide for optimal loading
Pro Tip
Resizing an image from 4000px to 1200px width can reduce file size by 70-80% before you even apply compression!
Tools and Methods to Compress Images
There are several ways to compress images online and reduce photo file sizes. Here are the most effective methods:
1. Online Image Compressors (Recommended)
Online photo compressors offer the easiest way to compress images without installing software:
- ImgNinja Image Compressor: Free, fast, and supports all major formats
- Batch processing: Compress multiple images simultaneously
- Privacy protection: Images processed locally in your browser
- No file size limits: Compress images up to 50MB
2. Desktop Software
- Adobe Photoshop: Professional-grade compression with "Save for Web"
- GIMP: Free alternative with excellent compression options
- ImageOptim (Mac): Drag-and-drop compression tool
- TinyPNG Desktop: Dedicated compression software
3. Command Line Tools
For developers and advanced users:
- ImageMagick: Powerful command-line image processing
- jpegoptim: JPEG-specific optimization
- pngquant: PNG compression with quality control
- cwebp: Google's WebP encoder
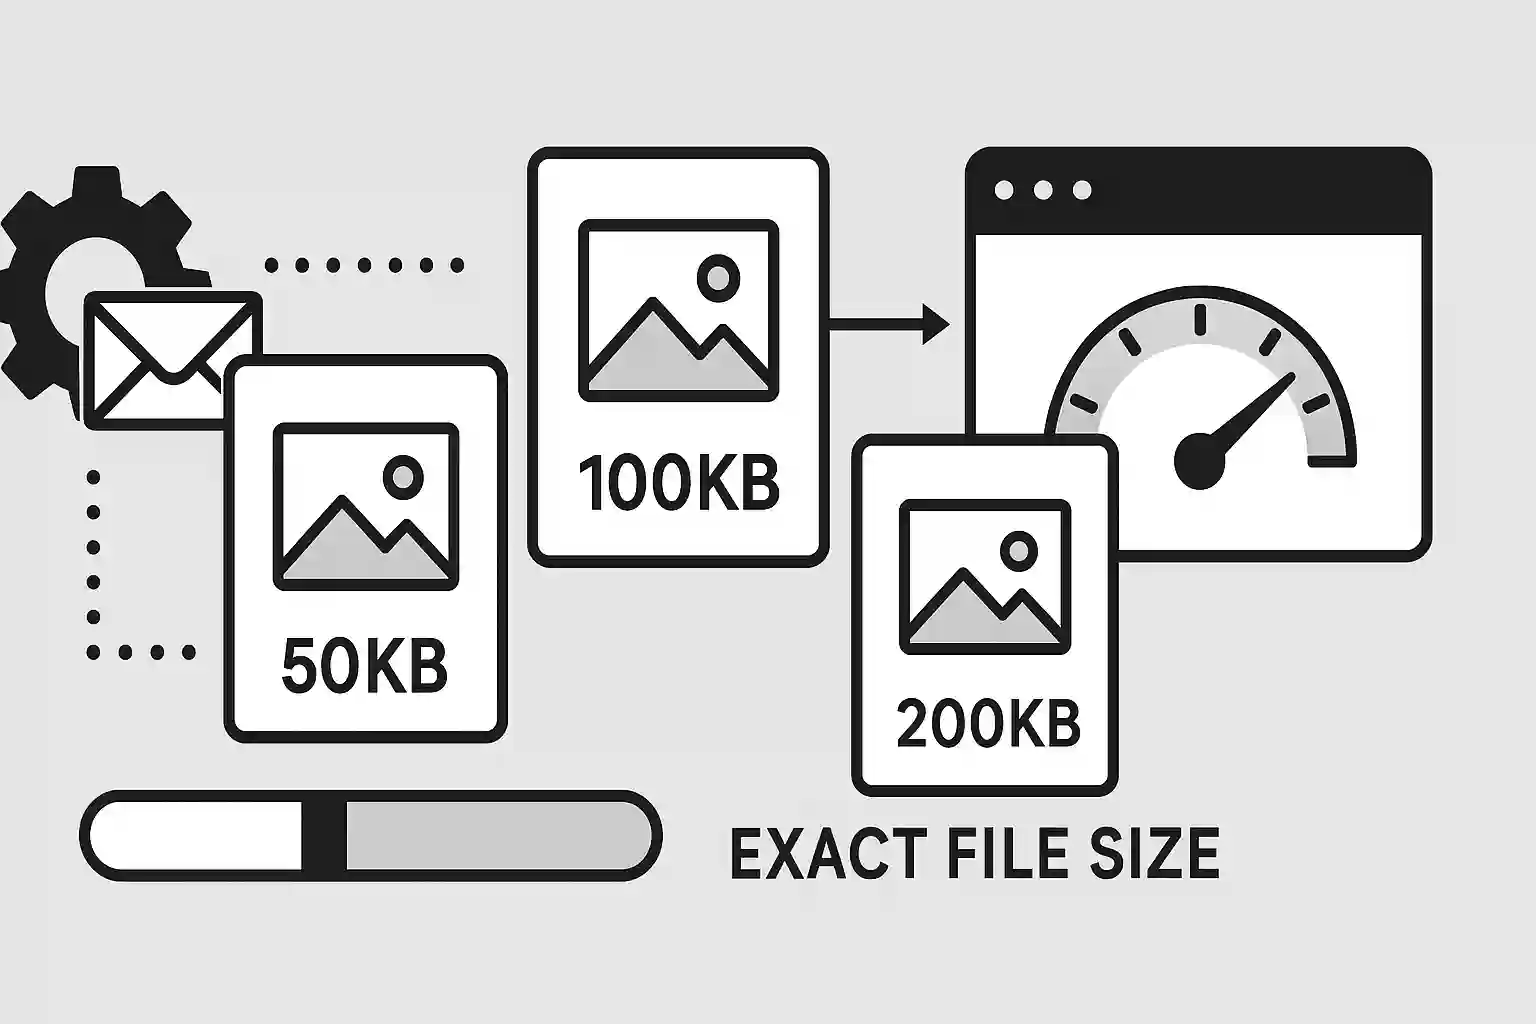
How to Compress Images to Specific Sizes
Sometimes you need to compress images to specific file sizes for various requirements:
Compress Image to 50KB
Perfect for email attachments and fast-loading thumbnails:
- Start with JPEG format at 70-80% quality
- Resize to maximum 800px width
- Use our target size feature for precise control
- Consider WebP format for better compression
Compress Image to 100KB
Ideal for blog images and social media posts:
- JPEG quality 80-85% usually achieves this target
- Maximum dimensions: 1200px width
- Remove metadata to save additional space
- Progressive JPEG can improve perceived loading speed
Compress Image to 200KB
Good balance for high-quality web images:
- JPEG quality 85-90% for excellent visual quality
- Suitable for hero images and featured photos
- Maximum dimensions: 1600px width
- Consider using WebP for even better results
Quick Compression Guide
| Target Size | Recommended Quality | Max Width | Best Format | Use Case |
|---|---|---|---|---|
| 50KB | 70-80% | 800px | JPEG/WebP | Thumbnails, email |
| 100KB | 80-85% | 1200px | JPEG/WebP | Blog images |
| 200KB | 85-90% | 1600px | JPEG/WebP | Featured images |
| 500KB | 90-95% | 2000px | JPEG/WebP | High-quality photos |
Best Practices for Image Compression
Follow these best practices to achieve optimal results when you compress images:
1. Always Keep Original Files
- Save compressed versions separately
- Maintain high-quality originals for future use
- Use version control for important images
2. Test Different Settings
- Compare quality at different compression levels
- Test on various devices and screen sizes
- Use A/B testing for critical images
3. Consider Your Audience
- Mobile users: Prioritize smaller file sizes
- Professional sites: Maintain higher quality standards
- E-commerce: Balance quality and loading speed
4. Optimize for Different Use Cases
- Hero images: Higher quality, larger file sizes acceptable
- Gallery thumbnails: Aggressive compression for fast loading
- Product photos: Balance quality and performance
Common Compression Mistakes to Avoid
Avoid these common pitfalls when compressing images:
1. Over-Compression
- Problem: Visible artifacts and poor image quality
- Solution: Find the sweet spot between quality and file size
- Tip: Never go below 60% quality for important images
2. Wrong Format Choice
- Problem: Using PNG for photos or JPEG for graphics
- Solution: Match format to image type and requirements
- Tip: Use format conversion when needed
3. Ignoring Responsive Images
- Problem: Serving large images to mobile devices
- Solution: Create multiple sizes for different screen sizes
- Tip: Use responsive image techniques with srcset
Frequently Asked Questions
How much can I compress an image without losing quality?
With modern compression algorithms, you can typically reduce image file size by 60-80% without noticeable quality loss. JPEG images can often be compressed to 80-85% quality with excellent results, while PNG images can achieve 10-30% size reduction through lossless optimization.
What's the difference between compressing and resizing images?
Resizing changes the dimensions (width and height) of an image, while compression reduces file size by removing unnecessary data. For best results, resize images first to the required dimensions, then apply compression to further reduce file size.
Can I compress images multiple times?
While technically possible, compressing an already compressed image (especially JPEG) will degrade quality significantly. Always work from the original, uncompressed file when possible. If you must recompress, use lossless formats like PNG or WebP lossless mode.
Which image format provides the best compression?
WebP generally provides the best compression, offering 25-35% better compression than JPEG and PNG while maintaining similar quality. However, JPEG remains the most widely supported format for photographs, while PNG is best for graphics with transparency.
How do I compress images for email attachments?
For email attachments, aim for file sizes under 1MB total. Compress individual images to 50-100KB by resizing to 800-1200px width and using 70-80% JPEG quality. Use our target size feature to achieve specific file sizes.
Conclusion
Mastering image compression is essential for creating fast, efficient websites that provide excellent user experiences. By understanding the different compression types, choosing the right tools, and following best practices, you can reduce image file sizes by up to 90% while maintaining visual quality.
Remember these key takeaways:
- Always resize images to required dimensions before compression
- Choose the right format for your specific use case
- Test different quality settings to find the optimal balance
- Use modern formats like WebP when browser support allows
- Keep original files and avoid recompressing already compressed images
Ready to Compress Your Images?
Try our free online image compressor and reduce your photo file sizes by up to 90% without losing quality. Support for all major formats including JPEG, PNG, WebP, and more.
Compress Images NowRelated Articles
WebP vs JPG vs PNG: Best Image Format
June 19, 2025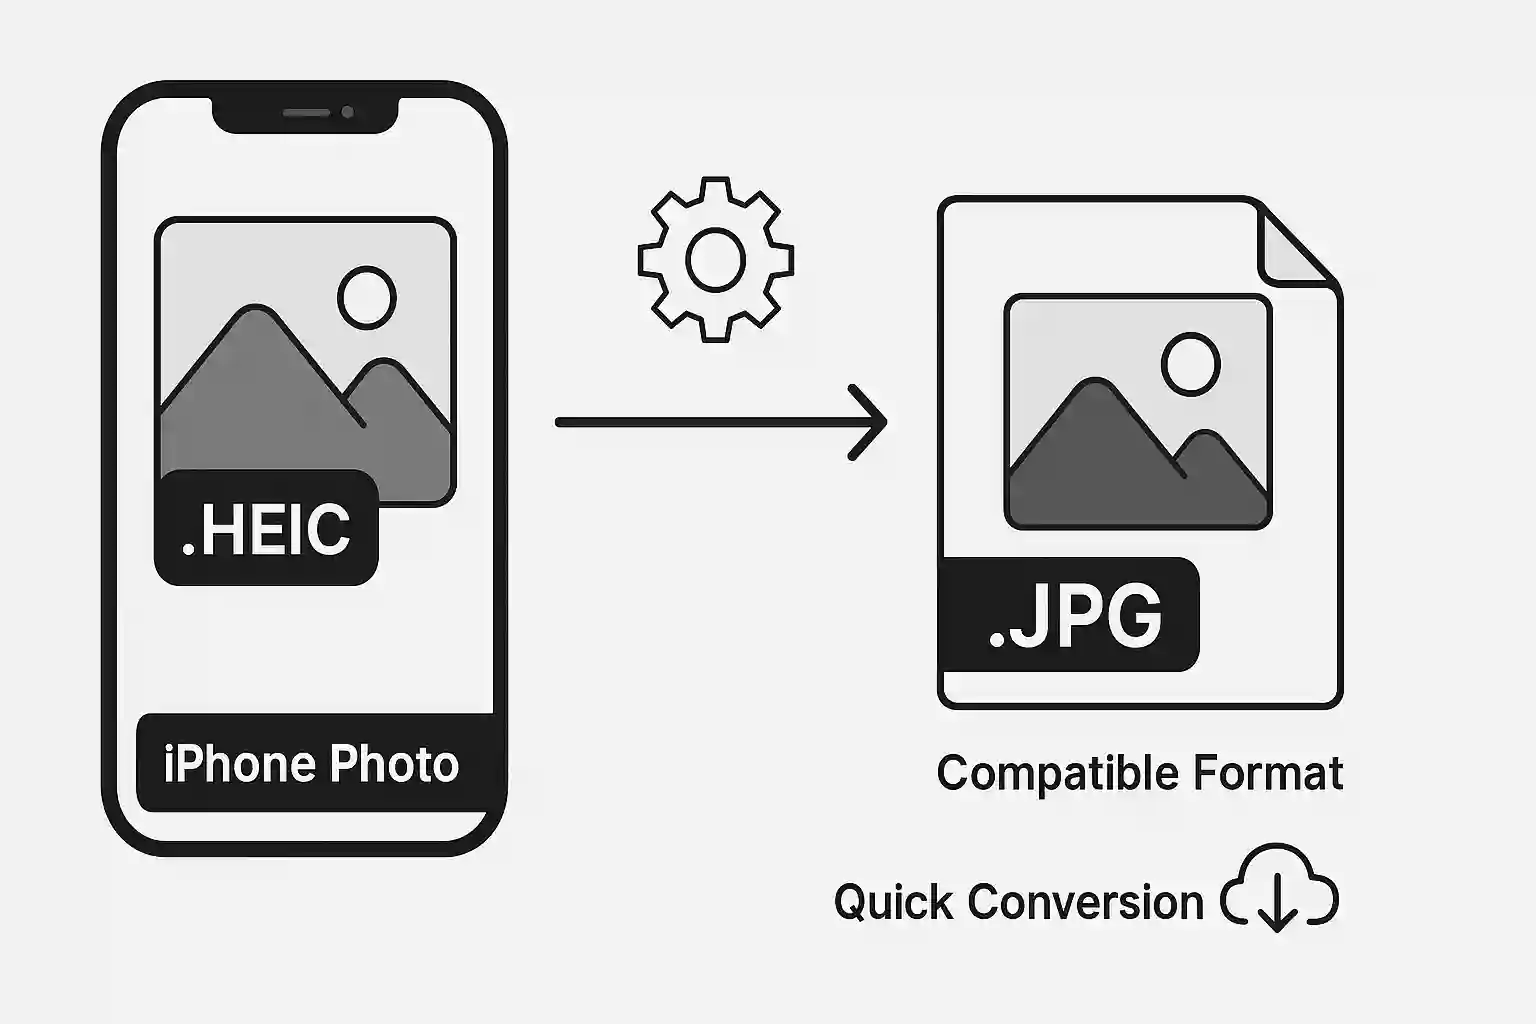
HEIC to JPG Conversion Guide
June 19, 2025