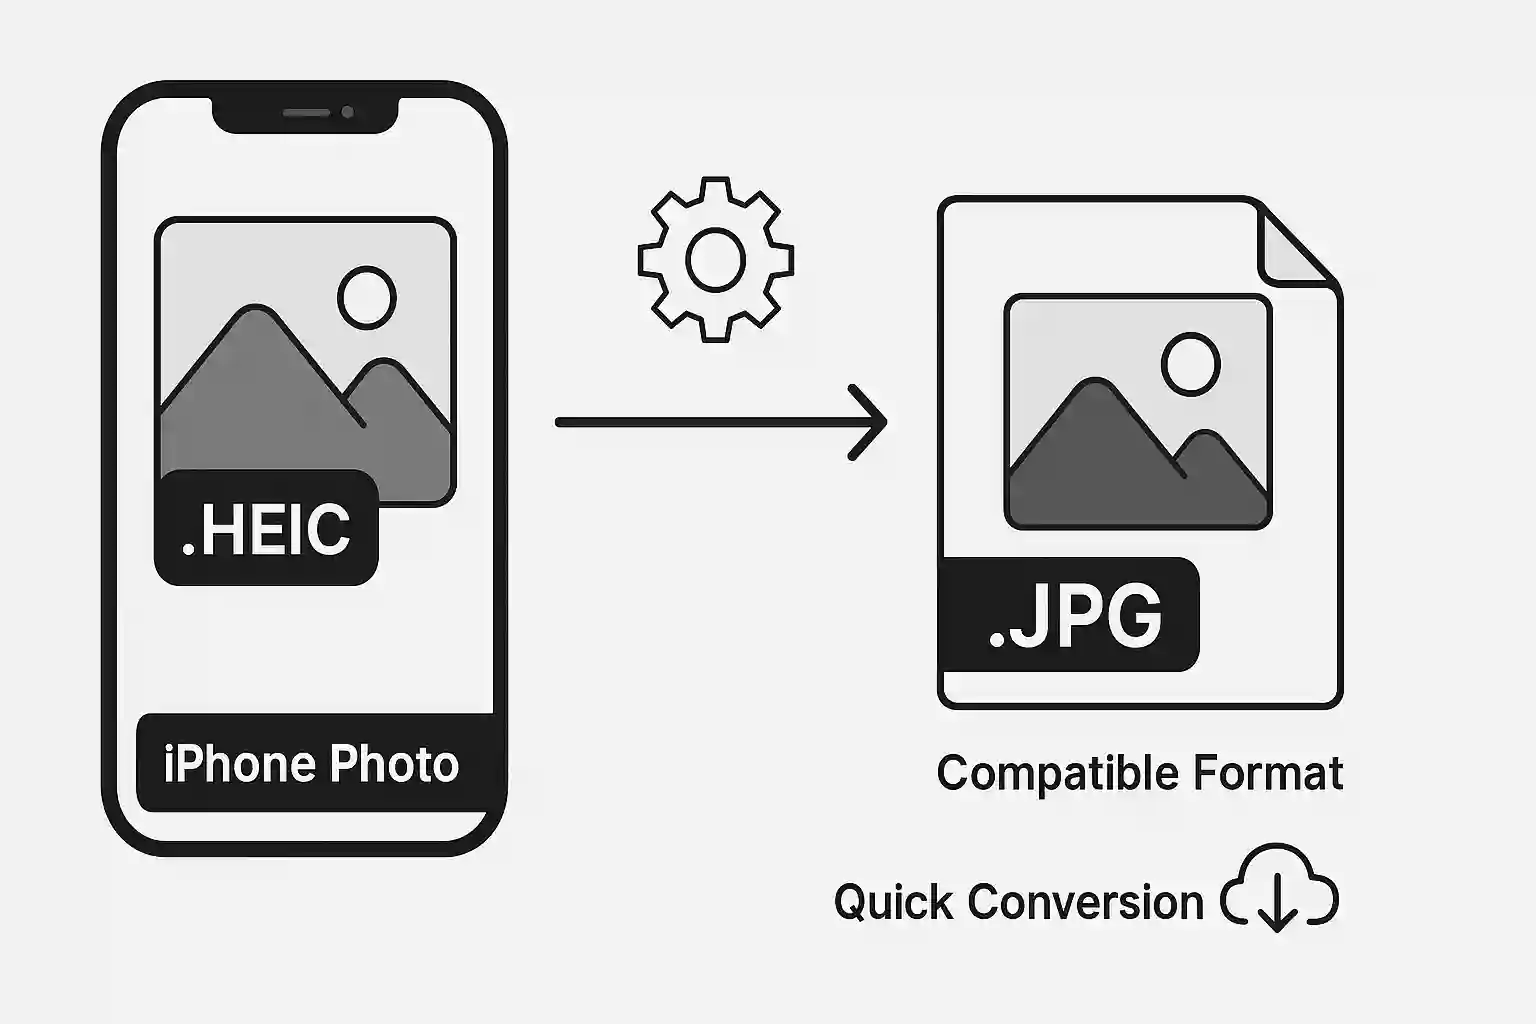
Struggling to open or share photos from your iPhone? The HEIC format, while efficient for storage, can cause compatibility issues across different platforms and devices. In this comprehensive guide, you'll learn how to convert HEIC to JPG using multiple methods, ensuring your iPhone photos work everywhere. Whether you need to convert a single image or batch process hundreds of photos, we've got you covered.
Table of Contents
What is HEIC Format?
HEIC (High Efficiency Image Container) is Apple's modern image format introduced with iOS 11. It's based on the HEIF (High Efficiency Image Format) standard and offers several advantages over traditional JPEG:
HEIC Advantages
- Better compression: 50% smaller file sizes than JPEG with same quality
- Higher quality: Supports 16-bit color depth vs JPEG's 8-bit
- Advanced features: Live Photos, depth information, and multiple images in one file
- Transparency support: Unlike JPEG, HEIC can store transparent images
HEIC Disadvantages
- Limited compatibility: Not supported by all devices and platforms
- Software support: Many image editors don't support HEIC natively
- Web compatibility: Most websites and social media platforms require JPEG
- Sharing issues: Difficult to share with non-Apple device users
Did You Know?
HEIC files can be up to 50% smaller than equivalent JPEG files while maintaining the same visual quality. However, this efficiency comes at the cost of universal compatibility.
Why Convert HEIC to JPG?
There are several compelling reasons to convert HEIC files to JPG format:
Universal Compatibility
- Cross-platform support: JPEG works on all devices and operating systems
- Web compatibility: All websites and social media platforms support JPEG
- Email attachments: JPEG files can be opened by any email client
- Printing services: Most photo printing services require JPEG format
Professional Requirements
- Client deliverables: Most clients expect JPEG files
- Portfolio websites: Web galleries typically use JPEG format
- Stock photography: Stock photo sites require JPEG submissions
- Marketing materials: Design software often prefers JPEG input
Sharing and Collaboration
- Social media: Instagram, Facebook, Twitter all prefer JPEG
- Team collaboration: Ensure everyone can view your images
- Archive compatibility: JPEG ensures long-term accessibility
Online HEIC to JPG Conversion (Recommended)
The easiest way to convert HEIC to JPG is using our free online converter:
Step-by-Step Process
- Visit our converter: Go to ImgNinja Image Converter
- Upload HEIC files: Drag and drop or click to select your HEIC images
- Select JPG format: Choose JPEG as your target format
- Adjust quality: Set compression level (80-90% recommended)
- Convert and download: Process your images and download the JPG files
Benefits of Online Conversion
- No software installation: Works directly in your browser
- Privacy protection: Files processed locally, never uploaded to servers
- Batch processing: Convert multiple HEIC files simultaneously
- Quality control: Adjust compression settings for optimal results
- Free to use: No limitations or watermarks
Pro Tip
When converting HEIC to JPG, use 85-90% quality settings to maintain excellent image quality while achieving good compression. This provides the best balance for most use cases.
Change iPhone Camera Settings to Capture JPG
To avoid future HEIC conversion needs, you can change your iPhone settings to capture photos in JPEG format:
Method 1: Camera Settings
- Open Settings on your iPhone
- Scroll down and tap Camera
- Tap Formats
- Select Most Compatible instead of "High Efficiency"
- Your iPhone will now capture photos in JPEG format
Method 2: Photos App Settings
- Open Settings on your iPhone
- Scroll down and tap Photos
- Under "Transfer to Mac or PC," select Automatic
- This converts HEIC to JPEG when transferring to non-Apple devices
Considerations
- File size increase: JPEG files will be larger than HEIC
- Storage impact: You'll use more iPhone storage space
- Quality difference: Minimal visual difference in most cases
- Feature loss: Some advanced features may not work with JPEG
Convert HEIC to JPG on Mac
Mac users have several built-in options to convert HEIC files:
Method 1: Preview App
- Open the HEIC file in Preview
- Go to File → Export
- Choose JPEG from the Format dropdown
- Adjust quality slider (recommended: 80-90%)
- Click Save to export as JPG
Method 2: Photos App
- Open Photos app on your Mac
- Select the HEIC images you want to convert
- Go to File → Export → Export Photos
- Choose JPEG as the photo kind
- Select quality and size options
- Click Export and choose destination folder
Method 3: Automator (Batch Conversion)
- Open Automator and create a new workflow
- Add "Get Specified Finder Items" action
- Add "Change Type of Images" action
- Set format to JPEG
- Save as application for future use
Convert HEIC to JPG on Windows
Windows users need additional software or online tools to convert HEIC images:
Method 1: Microsoft Store Extension
- Install HEIF Image Extensions from Microsoft Store
- Open HEIC file in Photos app
- Click the three dots menu
- Select Save as
- Choose JPEG format and save
Method 2: Paint Application
- Install HEIF extensions (as above)
- Open HEIC file in Paint
- Go to File → Save as
- Select JPEG from file type dropdown
- Choose location and save
Method 3: Third-Party Software
Popular Windows HEIC converters:
- CopyTrans HEIC: Free converter with Windows Explorer integration
- iMazing HEIC Converter: Simple drag-and-drop interface
- Apowersoft HEIC Converter: Batch conversion support
- Online converters: Use our web-based converter for best results
Batch Convert Multiple HEIC Files
When you need to convert many HEIC files to JPG at once, batch processing saves significant time:
Online Batch Conversion
- Visit our batch image converter
- Select multiple HEIC files (up to 10 at once)
- Choose JPEG as output format
- Set quality preferences for all images
- Convert and download all files as a ZIP archive
Mac Batch Conversion
Using Automator for bulk conversion:
- Create new Automator workflow
- Add "Ask for Finder Items" action
- Add "Filter Finder Items" (Kind is Image)
- Add "Change Type of Images" (to JPEG)
- Run workflow and select your HEIC folder
Command Line (Advanced Users)
For tech-savvy users, command line tools offer powerful batch processing:
# Using ImageMagick
magick mogrify -format jpg *.heic
# Using sips (Mac only)
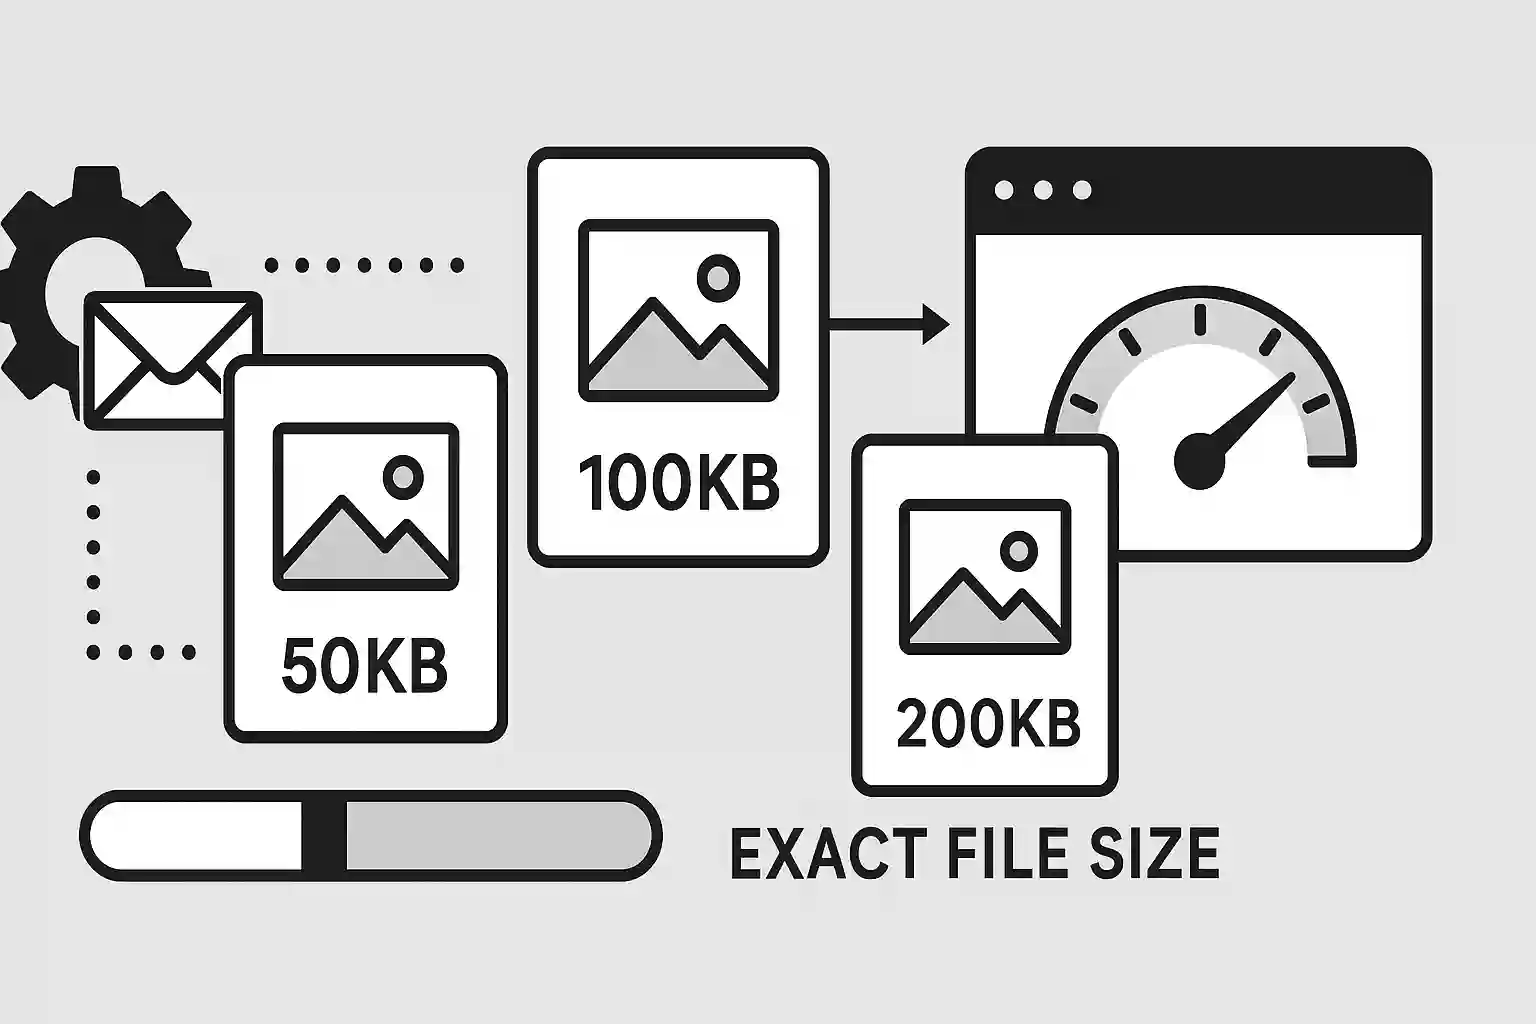
sips -s format jpeg *.heic --out converted/Quality and File Size Considerations
When converting HEIC to JPG, understanding quality settings helps achieve optimal results:
Quality Settings Guide
| Quality Level | File Size | Visual Quality | Best For |
|---|---|---|---|
| 95-100% | Large | Excellent | Professional photography, printing |
| 85-95% | Medium-Large | Very Good | Portfolio, high-quality web images |
| 75-85% | Medium | Good | Social media, general web use |
| 60-75% | Small | Acceptable | Thumbnails, email attachments |
| Below 60% | Very Small | Poor | Not recommended for most uses |
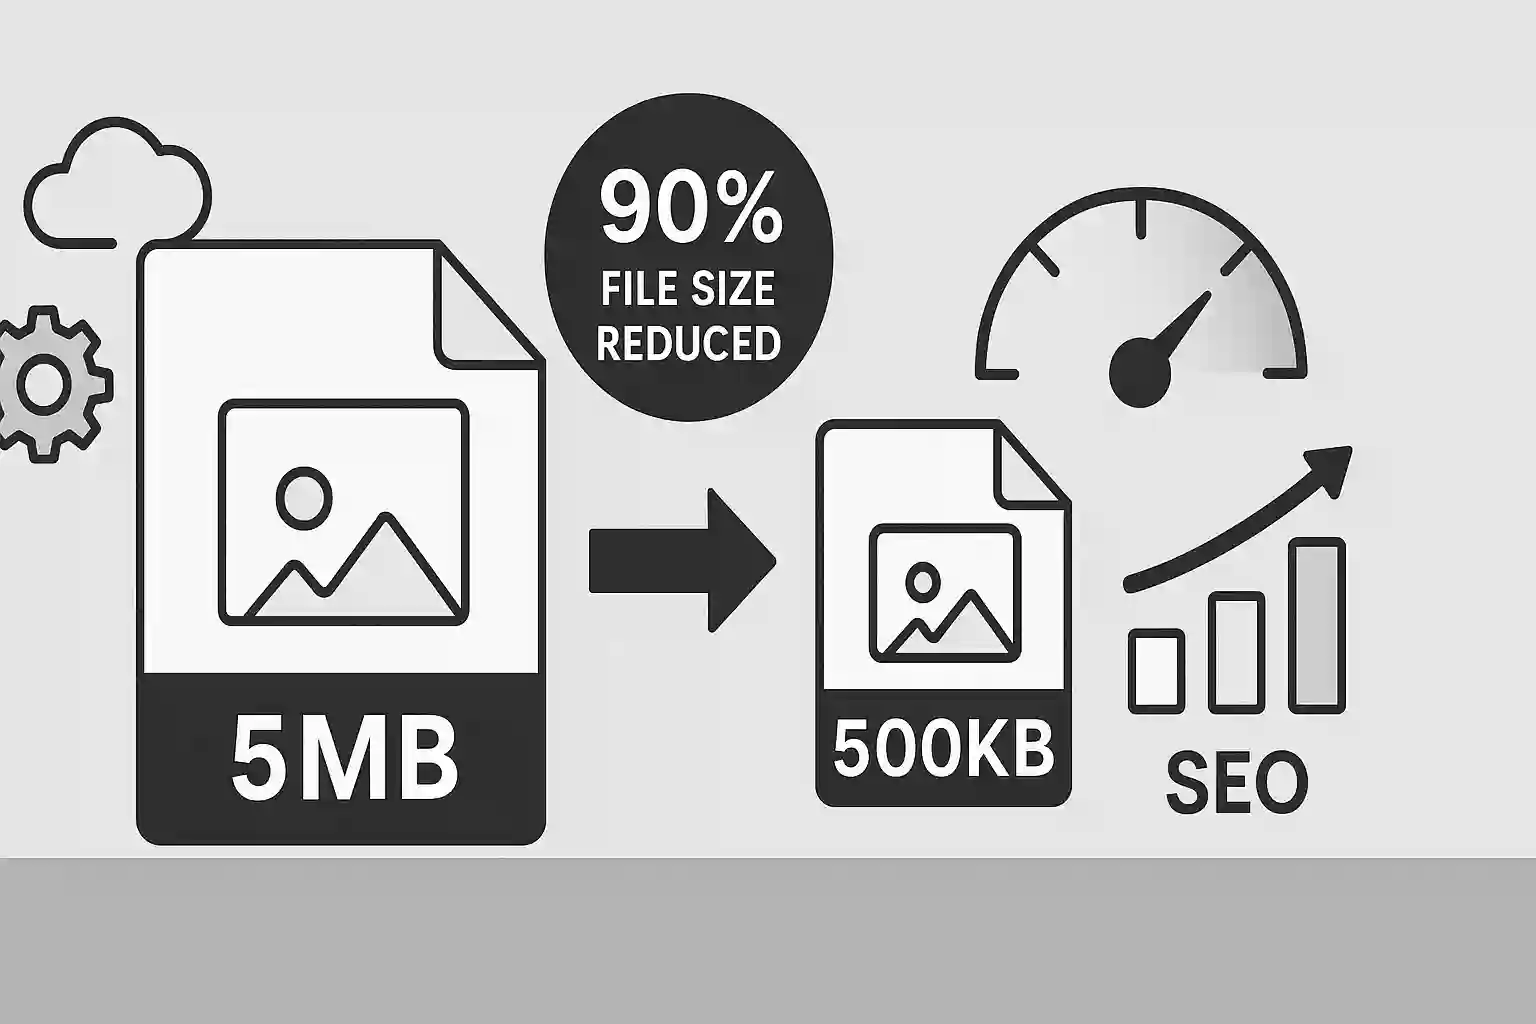
File Size Comparison
Typical file size differences when converting HEIC to JPG:
- Original HEIC: 2-4 MB (iPhone 12 Pro photo)
- JPG at 90% quality: 4-6 MB
- JPG at 80% quality: 2-4 MB
- JPG at 70% quality: 1-3 MB
Optimization Tip
After converting HEIC to JPG, consider using our image compressor to further reduce file sizes while maintaining quality.
Troubleshooting Common Issues
Here are solutions to common problems when converting HEIC files:
Can't Open HEIC Files
- Windows: Install HEIF Image Extensions from Microsoft Store
- Older Mac: Update to macOS High Sierra or later
- Android: Use Google Photos or install HEIC viewer app
- Web browsers: Use online converter instead
Conversion Quality Issues
- Blurry images: Increase quality setting to 85% or higher
- Large file sizes: Reduce quality to 75-80% for web use
- Color differences: Ensure color profile preservation in settings
- Metadata loss: Use tools that preserve EXIF data
Batch Conversion Problems
- Memory issues: Process smaller batches (10-20 files at a time)
- Mixed file types: Filter to only HEIC files before conversion
- Naming conflicts: Use tools that add suffixes or create new folders
Frequently Asked Questions
Is HEIC better quality than JPG?
HEIC can provide better quality at smaller file sizes due to more advanced compression algorithms. However, the visual difference is often minimal for most users. HEIC supports 16-bit color depth compared to JPEG's 8-bit, which can matter for professional photography.
Will converting HEIC to JPG reduce image quality?
Converting from HEIC to JPG at high quality settings (85-90%) results in minimal visible quality loss for most images. However, since JPEG uses lossy compression, there will be some data loss. The key is choosing appropriate quality settings for your intended use.
Can I convert HEIC to JPG on my phone?
Yes! You can use our mobile-friendly converter directly in your phone's browser. Alternatively, many mobile apps are available for HEIC conversion, or you can change your iPhone settings to capture JPG instead of HEIC.
Why can't I share HEIC photos on social media?
Most social media platforms (Instagram, Facebook, Twitter) don't support HEIC format and require JPEG or PNG. Converting your HEIC photos to JPG ensures compatibility across all social media platforms and better sharing experiences.
How do I convert HEIC to JPG without losing metadata?
Our image converter preserves EXIF metadata during conversion. Look for the "Preserve Metadata" option in advanced settings. This maintains information like camera settings, GPS location, and timestamps.
Conclusion
Converting HEIC to JPG is essential for ensuring your iPhone photos work across all platforms and devices. While HEIC offers superior compression and quality, JPEG's universal compatibility makes it the preferred format for sharing, web use, and professional applications.
Key takeaways for successful HEIC to JPG conversion:
- Use online converters for quick, secure conversion without software installation
- Choose 85-90% quality settings for the best balance of quality and file size
- Consider changing iPhone settings to capture JPG directly for future photos
- Use batch conversion tools when processing multiple images
- Preserve metadata when converting professional or important photos
Ready to Convert Your HEIC Files?
Use our free online HEIC to JPG converter. Fast, secure, and supports batch processing. Convert your iPhone photos to JPEG format in seconds.
Convert HEIC to JPG NowRelated Articles
Complete Guide to Image Compression
June 19, 2025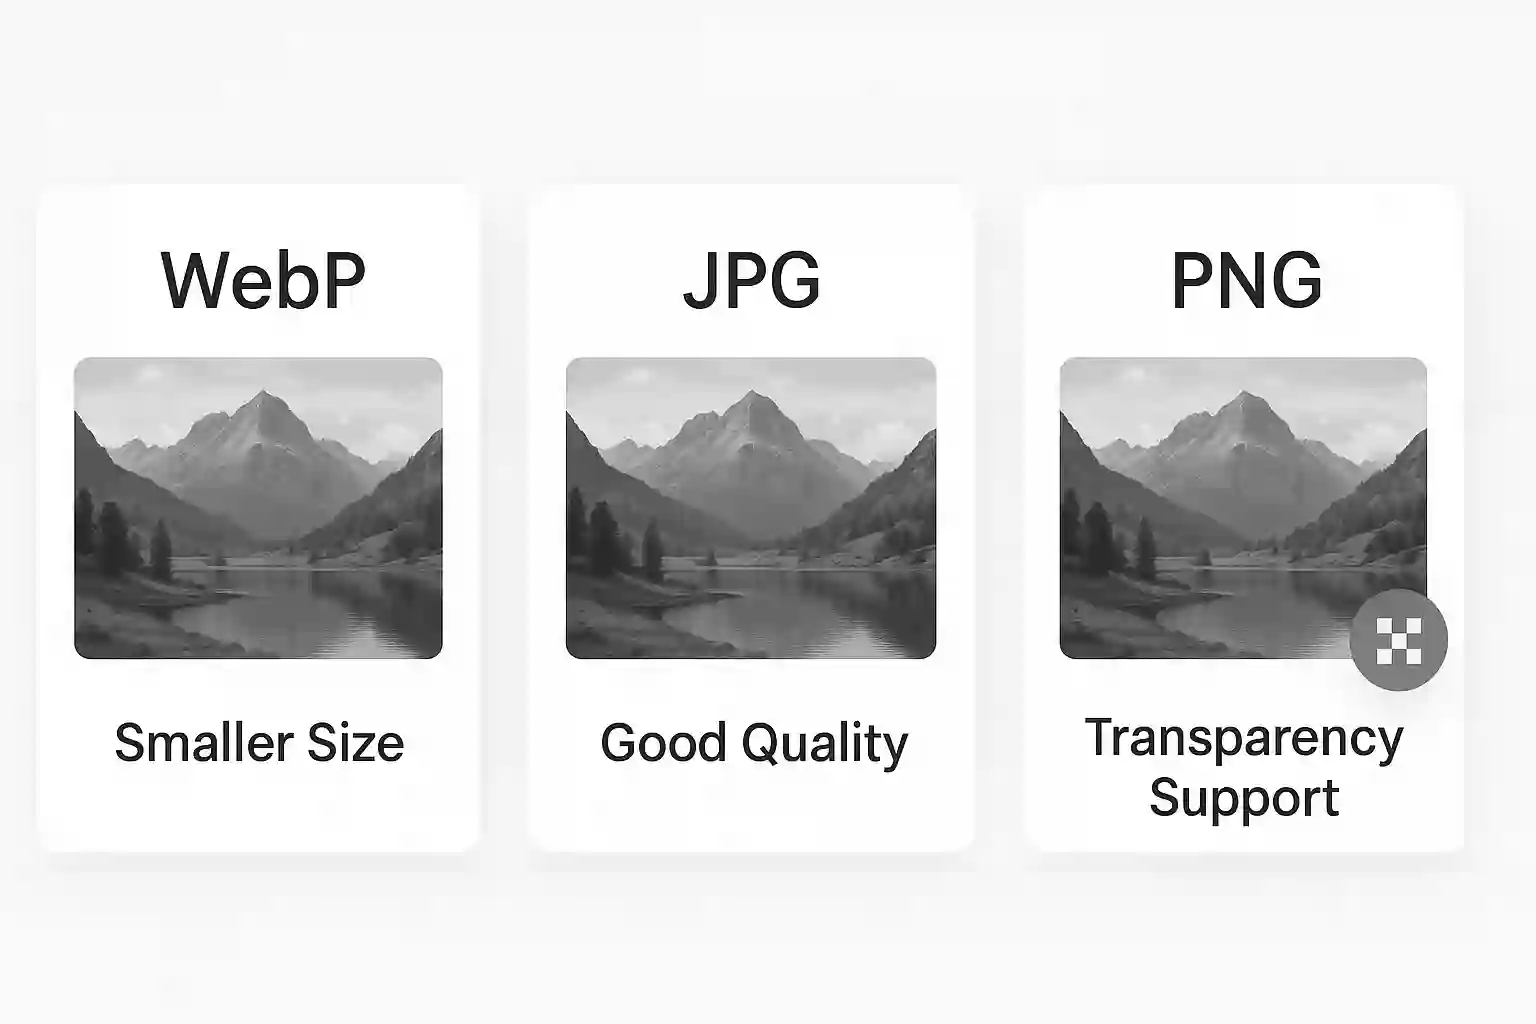
WebP vs JPG vs PNG: Best Image Format
June 19, 2025